
Ironing a dress shirt is a necessary skill for anyone who wants to look sharp and professional. But it can be a daunting task if you’re not sure where to start. In this blog post, we’ll guide you through the steps to iron a dress shirt like a pro.
Next, move on to the front of the shirt. Begin by ironing the button placket, working from the bottom to the top. Then, iron each side of the shirt, starting from the center and working your way outwards.
Step 1: Check the care label on your shirt
Before you start ironing your dress shirt, it’s important to check the care label for any specific instructions or warnings. Some dress shirts may require a specific temperature or setting for ironing, and others may need to be ironed inside out to protect any delicate designs or details.Step 2: Prepare your ironing board and iron
Make sure your ironing board is clean and sturdy, and that your iron is clean and in good working condition. Set the iron to the appropriate temperature for your shirt. If your shirt is made of cotton, use a high temperature setting. If it’s made of a synthetic material, use a lower temperature setting.Step 3: Start with the collar
Begin with the collar of your dress shirt. Unbutton the collar and lay it flat on the ironing board. Iron the back of the collar first, starting at the center and working your way outwards. Then, flip the collar over and iron the front side.Step 4: Move on to the cuffs
Next, move on to the cuffs of your dress shirt. Lay the cuffs flat on the ironing board and iron the inside first. Then, flip the cuffs over and iron the outside.Step 5: Iron the sleeves
After you’ve ironed the collar and cuffs, it’s time to move on to the sleeves. Start by laying one sleeve flat on the ironing board, with the seam facing upwards. Smooth out any wrinkles and iron the inside of the sleeve first. Then, flip the sleeve over and iron the outside. Repeat this process for the other sleeve.Step 6: Iron the front and back of the shirt
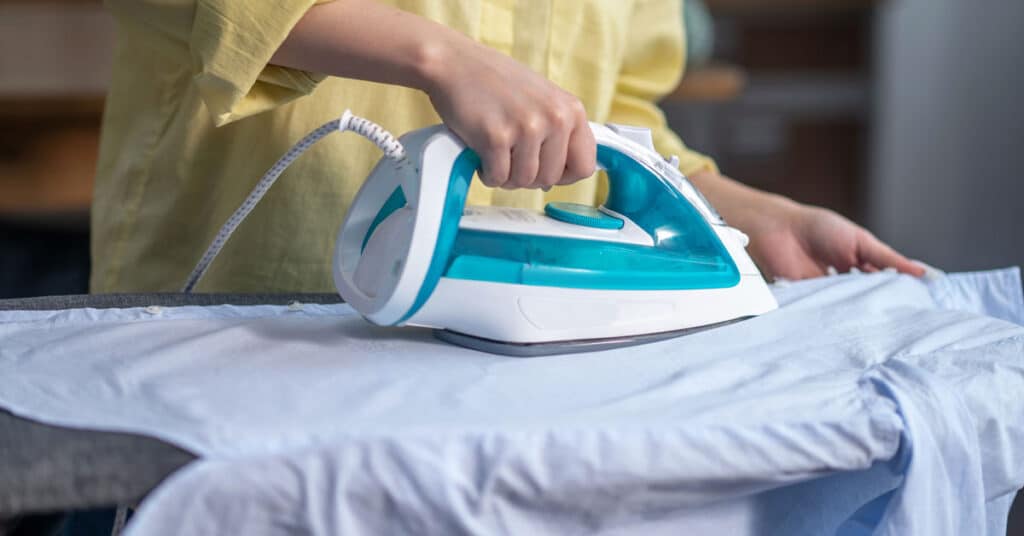
Now it’s time to iron the main body of your dress shirt. Start with the back of the shirt, and lay it flat on the ironing board with the shoulder seams aligned. Iron from the top of the shirt to the bottom, working in sections from side to side.Next, move on to the front of the shirt. Begin by ironing the button placket, working from the bottom to the top. Then, iron each side of the shirt, starting from the center and working your way outwards.